What if the key to rebuilding stability in your knee isn’t just rest, but strategic movement? Many assume recovery requires months of limited activity, but modern rehabilitation science tells a different story. We’re here to help you navigate this journey with clarity and confidence.
When the medial collateral ligament (MCL) is involved, restoring function demands a balanced approach. Targeted exercises rebuild stability while protecting delicate tissues. Our guide focuses on proven methods to reactivate muscles, improve flexibility, and reduce discomfort during daily activities.
Rehabilitation isn’t just about healing—it’s about creating a foundation for long-term joint health. Whether you’re an athlete or someone seeking everyday mobility, understanding phased exercise plans can accelerate progress. Let’s explore how to work with your body, not against it.
Key Takeaways
- Early-stage rehab prioritizes gentle range-of-motion exercises
- Progressive resistance training rebuilds muscle without strain
- Balance drills reduce reinjury risks during daily movements
- Pain monitoring guides safe intensity adjustments
- Consistency matters more than workout duration
Understanding the Medial Collateral Ligament (MCL)
The knee’s stability hinges on a complex network of tissues, but one often-overlooked hero is the medial collateral ligament. This band of fibrous tissue acts like nature’s seatbelt, keeping your joint secure during twists, turns, and sudden stops.
Anatomy and Function
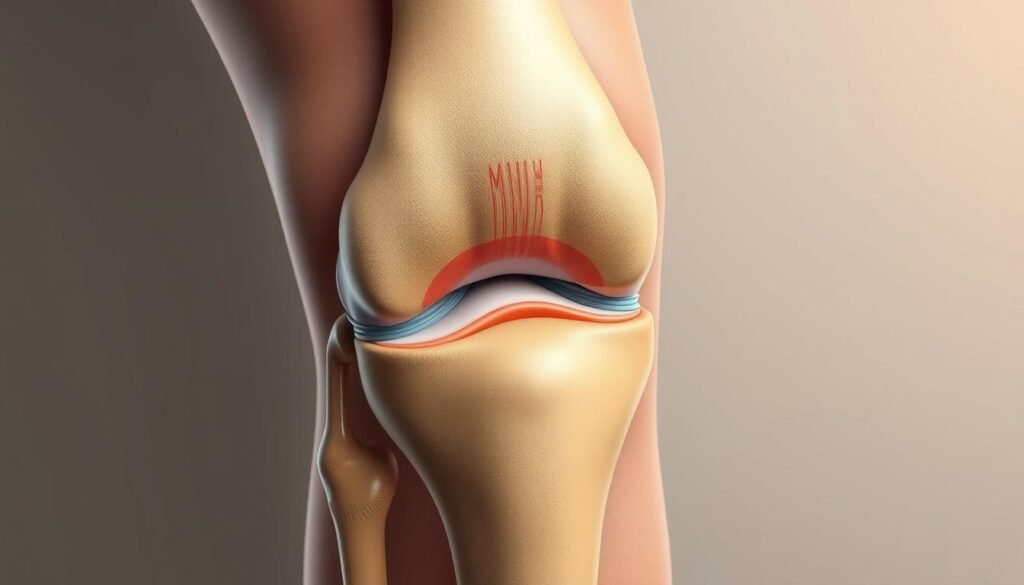
Composed of superficial and deep layers, the medial collateral ligament spans from the femur’s medial epicondyle to the tibia. Its dual-layer design allows it to handle multiple forces simultaneously. The deep layer connects directly to the medial meniscus, creating a vital partnership for shock absorption.
This collateral ligament primarily resists valgus stress—the inward buckling of the knee during activities like cutting or pivoting. It also limits excessive rotation, making it essential for sports requiring rapid direction changes. Without this restraint, simple movements like stepping sideways could strain other joint structures.
Importance in Knee Stability
Everyday actions—walking downstairs or rising from a chair—rely on the medial collateral ligament’s stabilizing power. Research shows it absorbs up to 80% of valgus force during moderate activity. As one study notes:
“The MCL’s biomechanical role extends far beyond injury prevention—it enables controlled motion.”
Physical therapy protocols often prioritize restoring this ligament’s functional capacity after damage. Its unique position allows therapists to design exercises that reactivate surrounding muscles without compromising healing tissues. This approach reduces compensatory movements that could delay recovery.
Causes and Classifications of MCL Injuries
Understanding how injuries occur shapes smarter recovery strategies. Knee stability challenges often begin with forces exceeding the medial collateral ligament’s capacity. Let’s break down what triggers these issues and how experts categorize them.

Mechanisms and Common Causes
Collateral ligament damage typically stems from two scenarios. Direct blows to the knee’s outer side—common in contact sports—force the joint inward. Valgus stress during abrupt stops or pivots also strains these tissues. Basketball players and soccer athletes face higher risks due to cutting motions.
Non-sport incidents matter too. Missteps on uneven ground or sudden twists while carrying weight can overstretch ligaments. Physical therapists note that weak hip muscles often contribute by altering knee alignment during movement.
Grading and Associated Injuries
Medical teams grade collateral ligament issues using a 1-3 scale. Grade 1 involves mild stretching, while grade 3 indicates complete tears. Clinical exams assess joint looseness and pain levels to determine severity.
Nearly 40% of cases involve additional damage. ACL tears frequently accompany severe medial collateral ligament injuries, complicating recovery. Meniscus or cartilage harm may also occur, requiring combined treatment approaches. As one specialist observes:
“Isolated injuries heal faster, but combined damage demands precision in rehab planning.”
This classification guides exercise selection and brace use. Early identification prevents long-term instability.
Initial Steps in Rehabilitation and Pain Management
Recovery begins long before the gym—it starts with smart decisions in those critical first hours. Immediate action reduces complications and sets the stage for lasting results.
Swelling control is non-negotiable. We use the RICE protocol—Rest, Ice, Compression, Elevation—for the first 48-72 hours. Icing for 15-minute intervals every 2 hours minimizes inflammation. Compression sleeves stabilize tissues without restricting blood flow.
Gentle movement starts sooner than most expect. Quad sets—tightening thigh muscles while legs are straight—reactivate neural pathways. These micro-contractions prevent muscle atrophy without stressing healing ligaments.
| Focus | Methods | Purpose |
|---|---|---|
| Swelling/Pain Control | Ice packs, elevation, NSAIDs | Reduce inflammation |
| Early Mobility | Heel slides, quad sets | Prevent joint stiffness |
Conservative treatment plans prioritize gradual tissue adaptation. A 2023 study found patients who began controlled rehab within 72 hours regained 30% more mobility by week two. Always consult a physical therapist to tailor exercises to your healing phase.
For structured recovery plans, explore evidence-based protocols that align with your progress. Consistency with these foundational steps builds resilience—one deliberate movement at a time.
Restoring Range of Motion and Flexibility
Regaining full knee movement isn’t about pushing limits—it’s about working smarter with precise exercises. Early-phase rehab focuses on rebuilding joint function through controlled techniques that respect healing timelines. These methods prevent stiffness while gradually restoring your natural range of motion.

Effective Techniques and Heel Slides
Heel slides gently reintroduce bending (flexion) without strain. Start lying flat, slowly sliding your heel toward your butt until mild tension appears. Hold for 5 seconds, then return to a straight leg position. Aim for 2 sets of 10 repetitions daily.
Consistency matters more than intensity here. As one physical therapist notes:
“Micro-progressions in movement quality create lasting improvements.”
Pair these with seated knee extensions using a rolled towel under your heel to deepenrangesafely.
Quad Sets and Mobility Drills
Quad sets activate thigh muscles crucial for stability. Press your knee downward while keeping legs straight, holding contractions for 6-8 seconds. Repeat 15 times per session. This reinforces extension capabilities often limited after medial collateral ligament stress.
Combine these with wall-assisted slides for enhanced mobility. Lean against a surface, slowly bending and straightening your knee within pain-free limits. Track progress weekly—even 5-degree motion gains signal tissue adaptation.
| Exercise | Reps/Duration | Frequency |
|---|---|---|
| Heel Slides | 10 reps x 2 sets | Daily |
| Quad Sets | 15 holds x 3 sec | 3x/day |
Strengthening after MCL injury: Essential Exercises
Rebuilding knee resilience requires more than patience—it demands precision in movement. Targeted workouts reactivate dormant muscle groups while protecting healing tissues. Strategic exercise selection bridges the gap between recovery and regained functionality.
Why Strength Matters in Recovery
Muscular support reduces strain on healing ligaments. A 2024 study found patients who incorporated strength training early regained 40% more stability within six weeks. As one therapist explains:
“Strong muscles act like biological braces, compensating for ligament vulnerability during healing.”
Mastering Controlled Movements
Begin with straight leg raises to engage quadriceps safely. Lie flat, tighten your thigh, and lift your leg 12 inches off the ground. Hold for 3 seconds, then lower slowly. Perform 2 sets of 10 reps daily.
Quad sets remain foundational. Press your knee into the floor while seated, holding contractions for 5-second intervals. This reactivates neuromuscular connections without joint stress.
| Exercise | Sets/Reps | Focus Area |
|---|---|---|
| Step-ups | 3×12 | Glute activation |
| Wall Slides | 2×15 | Controlled flexion |
Progress gradually—adding resistance bands before weights. Track pain levels using a 0-3 scale. Discomfort above level 1 signals needed adjustments. Consistency with these movement blueprints builds lasting joint security.
Mastering Heel Slide Variations for Safe Recovery
Unlocking knee flexibility starts with a simple yet powerful exercise: the heel slide. This foundational movement rebuilds mobility while protecting delicate tissues. When done correctly, it bridges early recovery phases to more advanced strength work.

Standard Heel Slide Technique
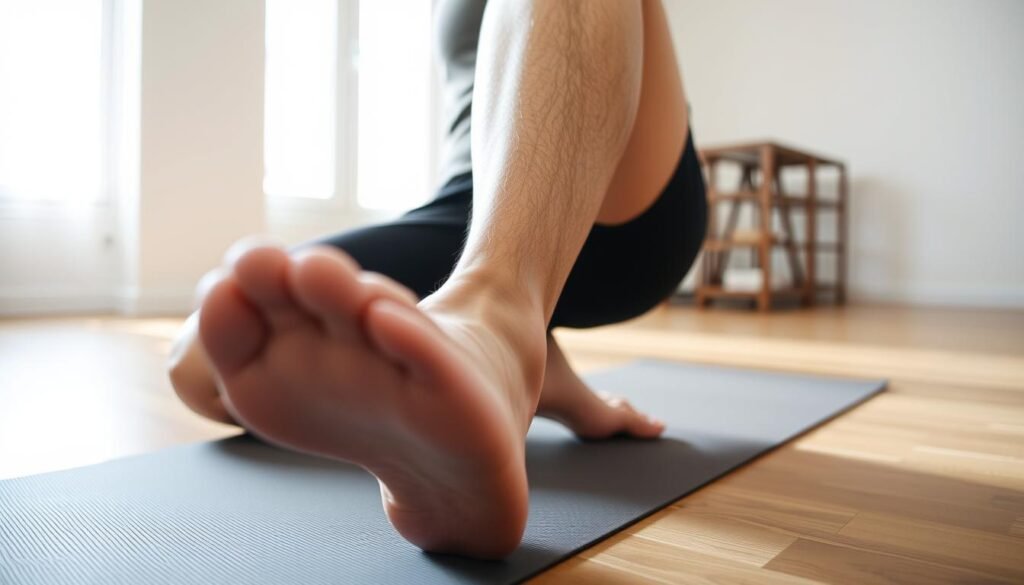
Lie flat on your back with legs extended. Slowly slide one heel toward your butt, keeping the foot flat. Stop when you feel gentle tension—no sharp pain. Hold for 5 seconds, then return to the starting position. Repeat 10 times per session.
Use your opposite leg to assist if movement feels stiff. Place a towel under the working foot for smoother gliding. As one physical therapist advises:
“Focus on control, not range. Quality repetitions prevent compensatory patterns.”
Heel Slide on a Wall for Enhanced Stretch
Lean against a wall with your back flat. Slowly bend the affected knee, letting your heel slide downward. Stop at 45 degrees initially—progress deeper as comfort allows. Hold each position for 3 seconds before resetting.
This variation uses gravity to improve flexion without strain. Perform 2 sets daily, gradually increasing to 15 reps. Track progress weekly using a protractor app to measure angles.
| Variation | Hold Time | Daily Reps |
|---|---|---|
| Standard | 5 seconds | 10-12 |
| Wall-Assisted | 3 seconds | 8-10 |
Progressive Strength Training for Knee Stability
Building resilience in vulnerable joints starts with calculated strength progression. As tissues heal, structured resistance training reinforces stability while preventing reinjury risks. The key lies in balancing challenge with joint protection—a principle guiding every exercise selection.
Short-Arc Quadriceps Activation
Short-arc exercises rebuild strength without overloading ligaments. Begin seated with knees bent at 30 degrees. Slowly straighten your leg, pausing at 45 degrees before lowering. Perform 3 sets of 12 reps daily. This motion isolates thigh muscles while minimizing joint strain.
A 2023 study found patients using this method improved quadriceps activation by 37% within four weeks. As one sports therapist notes:
“Partial-range movements build foundational strength before advancing to complex patterns.”
Advancing to Functional Movements
Bodyweight squats and step-ups reintroduce real-world demands safely. Start with partial squats (45-degree knee bend), focusing on ankle alignment. Progress to full-depth squats only when pain-free for two consecutive sessions.
Step-ups train single-leg stability—critical for daily activities. Use a 4-inch platform initially, increasing height by 2 inches monthly. Maintain controlled movements to avoid compensatory hip shifts.
| Exercise | Progression Level | Reps |
|---|---|---|
| Partial Squat | Bodyweight → Resistance Bands | 3×10 |
| Step-Up | 4″ → 6″ Platform | 2×12 per leg |
The Role of Bracing and Supportive Physical Therapy
What tools can accelerate healing while protecting vulnerable joints? Modern recovery plans often combine hinged braces with personalized treatment strategies. These approaches provide targeted support during critical healing phases while restoring functional mobility.
When to Use a Hinged Knee Brace
Braces become essential during early-stage recovery for grade 2-3 collateral ligament injuries. They stabilize the back knee area, preventing harmful sideways movements. Research shows proper bracing reduces reinjury risks by 22% during the first six weeks of treatment.
Physical therapists recommend braces when:
- Swelling limits natural joint alignment
- Weight-bearing causes instability
- Muscle weakness affects movement control
“Bracing should complement exercises, not replace them. We aim for gradual independence from external support as tissues heal.”
| Injury Level | Brace Type | Wear Time |
|---|---|---|
| Grade 1 | Compression sleeve | During activity |
| Grade 2 | Hinged brace | 6-8 hours/day |
| Grade 3 | Custom orthotic | Full-day (except PT) |
Treatment plans adapt as healing progresses. Weekly assessments determine when to reduce brace dependency. Pairing this approach with physical therapy exercises creates a balanced recovery system. Therapists often adjust support levels based on strength gains and pain reports.
Always consult specialists to match brace features with your injury’s demands. Proper fit ensures optimal alignment without restricting blood flow—key for long-term joint health.
Integrating Advanced Dynamic Balance and Plyometric Drills
Transitioning from basic rehab to advanced performance requires mastering movements that challenge stability in new ways. These drills rebuild confidence in your knee’s ability to handle rotational forces and sudden direction changes—critical for returning to sports or active lifestyles.
Dynamic Balance Options
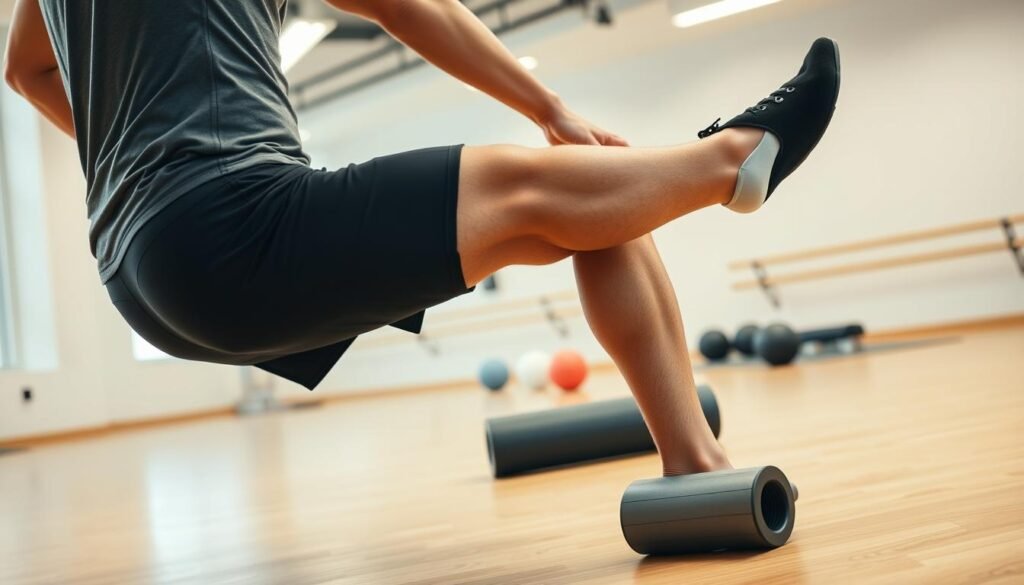
Single-leg rotations test stability while improving joint control. Stand on one leg, slowly turning your upper body side to side. Keep hips level and knees aligned over toes. Start with 3 sets of 8 rotations per side, increasing to 12 as balance improves.
Lateral reach drills enhance side-to-side responsiveness. Shift weight to your stronger leg, then tap the opposite heel outward at 45-degree angles. Hold each position for 2 seconds before resetting. A physical therapist recommends:
“Progress from static holds to dynamic movements only when you can maintain perfect form for 10 seconds.”
| Exercise | Sets/Reps | Surface |
|---|---|---|
| Bosu Ball Squats | 3×10 | Soft mat |
| Clock Reaches | 2×8 per side | Flat floor |
Introducing Plyometric Progressions
Begin with two-footed jumps on shock-absorbing surfaces. Land softly with knees bent at 30 degrees, holding the position for 1 second before rebounding. Focus on quiet landings—loud impacts signal poor control.
Wall jumps add vertical challenge without excessive strain. Face a wall, jumping to tap markers placed 6-12 inches above your reach. Alternate lead legs each time to ensure balanced development.
Advanced phases incorporate lateral hops over low obstacles. Always land with feet shoulder-width apart to prevent inward knee collapse. As one study notes:
“Proper deceleration technique reduces impact forces by 18% compared to uncontrolled landings.”
| Plyometric Level | Exercise | Repetitions |
|---|---|---|
| Beginner | Line Hops | 3×15 |
| Intermediate | Box Jumps (6″) | 2×10 |
| Advanced | Lateral Bound & Hold | 4×8 per side |
Moving Forward with Confident Recovery
True progress in knee rehabilitation emerges when consistency meets smart strategy. We’ve shared methods to rebuild stability through phased exercises and controlled movements. Now, your focus shifts to maintaining momentum while honoring your body’s healing timeline.
Long-term success hinges on two principles: gradual progression and daily movement. Strengthen thighs and glutes through low-impact activities like cycling or swimming. These activities protect joints while enhancing range motion.
Physical therapy techniques teach your knees to handle real-world demands safely. One therapist reminds us: “Recovery isn’t linear—celebrate small wins while staying committed to the process.” Schedule monthly check-ins to adjust your plan as strength improves.
Prevent setbacks by:
- Prioritizing form over intensity during workouts
- Incorporating balance drills into warm-ups
- Tracking flexibility gains with simple home tests
Your journey doesn’t end when pain subsides. Lifelong joint health grows from habits formed during rehab. Keep sessions brief but frequent—even 10 minutes daily maintains hard-won progress.
We believe in your capacity to rebuild stronger than before. With patience and the right tools, you’ll reclaim not just mobility, but confidence in every step forward.
